")
Get 5% off your next order by signing up.
")
")
")
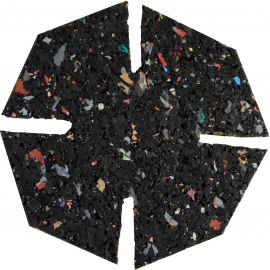
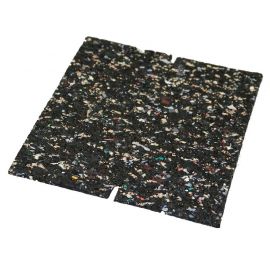
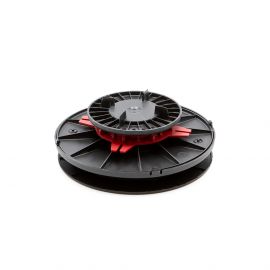
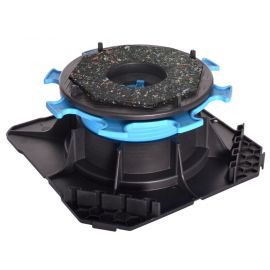
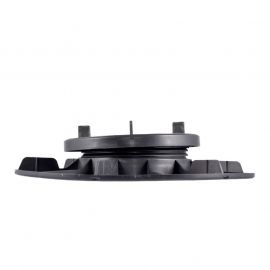
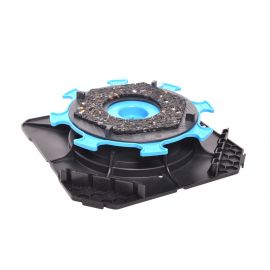
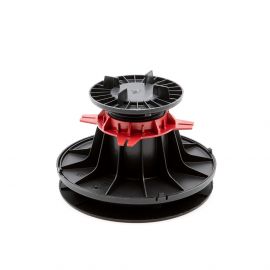
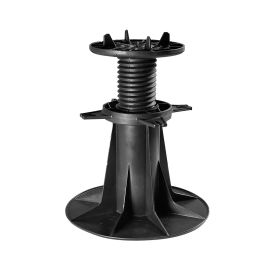
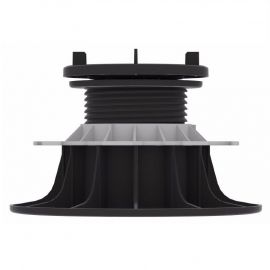
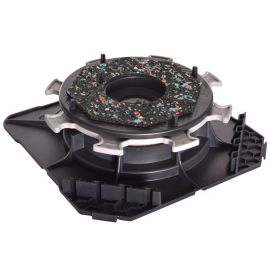
The 10 mm paving pedestal is used for laying non-raised terraces, in renovation and also as an extension by combining it with another model of pedestal. Quick and easy installation: place 1 pedestal at each corner of the tiles. Installation is carried out on level and stable ground in less than 3 days.

Expédition des commandes en 24/48h

Livraison offerte dès 500€

Paiement en 3 ou 4x avec Oney

Service client du lundi au vendredi
.png)
The Jouplast 10 mm paving pedestal is used as a fixed pedestal or as an extension for Jouplast paving pedestal. This terrace pedestal is ideal for renovating an existing terrace or for installing a terrace on non-raised pedestals. This time-saving and budget-saving solution is ideal for everyone, whether you are a seasoned DIYer or a total novice.
In order to have a solid and durable structure, ground preparation is necessary before laying slab on pedestal. Indeed, to enjoy your outdoor space in peace, it is necessary to have a flat and stable ground. Better still, this ground preparation guarantees durability over time. Conversely, unprepared ground can evolve and move depending on the weight and climatic conditions.
To keep your tiled terrace on pedestals for a long time, forget about laying a mortar screed! Preparing the ground for paving terrace pedestals is as simple as it is economical!
Here is what you need for the preparation:
4 steps are enough to prepare your ground to accommodate a tiled terrace on a pedestal:
However, if your ground is concrete or an old terrace structure, the preliminary work will be minimal. All you have to do is clean the existing surface and check the flatness of the floor, which is an essential criterion for a perfect terrace.
Accessible to all, the tiled terrace pedestal is very easy to set up. From 1 to 2 days are necessary to create a terrace to your liking and that meets your requirements. The installation is done alone, but we advise you to ask for help to carry the tiles. Indeed, these are often very heavy and you risk injuring yourself.
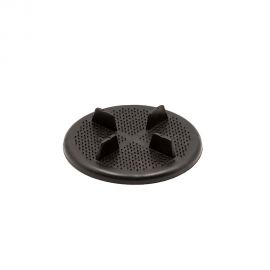
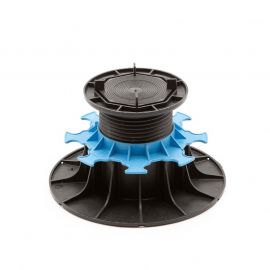
For the installation of the pedestals, it is necessary to count 1 pedestal per angle or 4 pedestals for a tile paving. For large pavings, from 60 x 60 cm, add one or two central pedestals by breaking the spacers. Got it? Now it's your turn !

Data sheet
Reference: JOU-IH040060DS10000

Reference: JOU-IH055080DNC0000
Reference: JOU-IH029039DSN0000
Reference: JOU-IH028040DNC0000
Reference: RIN060090DAUT

Reference: JOU-IH095155DSN0000
Reference: JOU-IH080140DS10000
Reference: JOU-IH040055ANC0000
The 10 mm paving pedestal is used for laying non-raised terraces, in renovation and also as an extension by combining it with another model of pedestal. Quick and easy installation: place 1 pedestal at each corner of the tiles. Installation is carried out on level and stable ground in less than 3 days.
check_circle
check_circle